How to apply foundation (for beginners)
HELLO! decided to make a beginner series because i've been there done that and i want to share my tips with all the other girls who're still experimenting with makeup currently.
we'll start from the basics: foundation.
the main idea here is to minimize the number of products and tools required.
i advocate using products where you really need it, therefore, instead of using the foundation/bb cream over the entire face, use it on areas that need brightening, this allows you to retain your natural contour and skip out on contouring later on. also, i only powder the T zone area and under my eyes to set the makeup as the T zone is the oily area, while the under eye area is prone to creasing after i used a creamy concealer.
i only used 2 brushes for this entire video: the powder brush, and an eyeliner brush for precise concealing.
watch the video tutorial if you haven't!
PRODUCTS USED____________________________________________________________
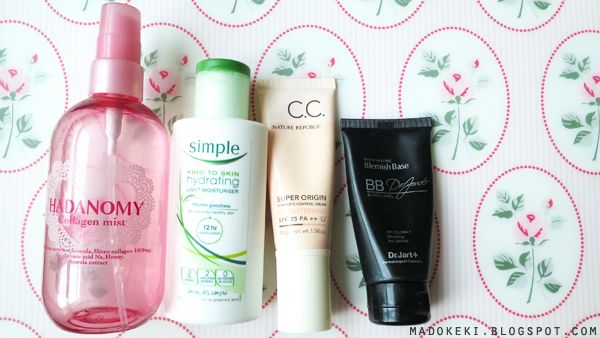 from left to right,
hadanomy
from left to right,
hadanomy collagen mist,
simple kind to skin hydrating light moisturizer,
nature republic brightening cc cream,
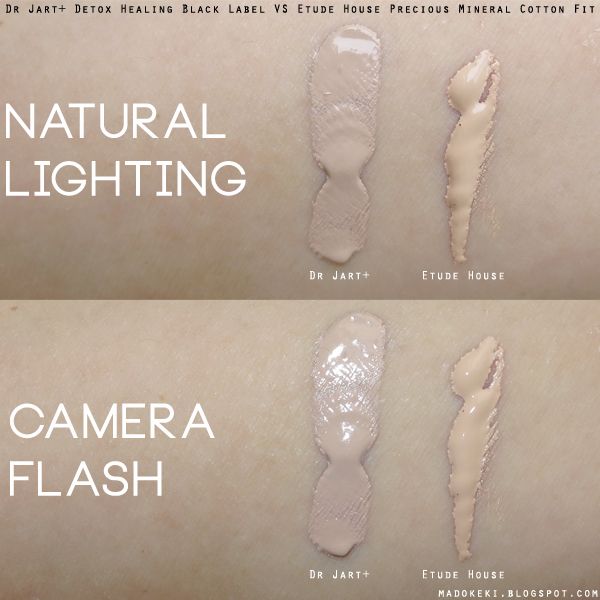
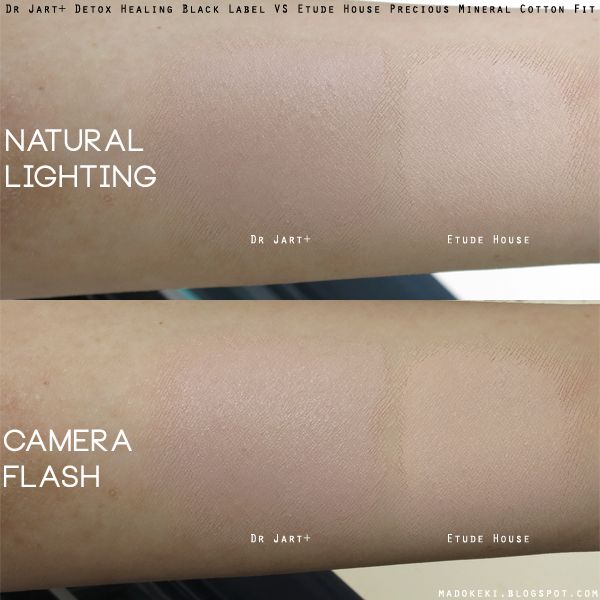
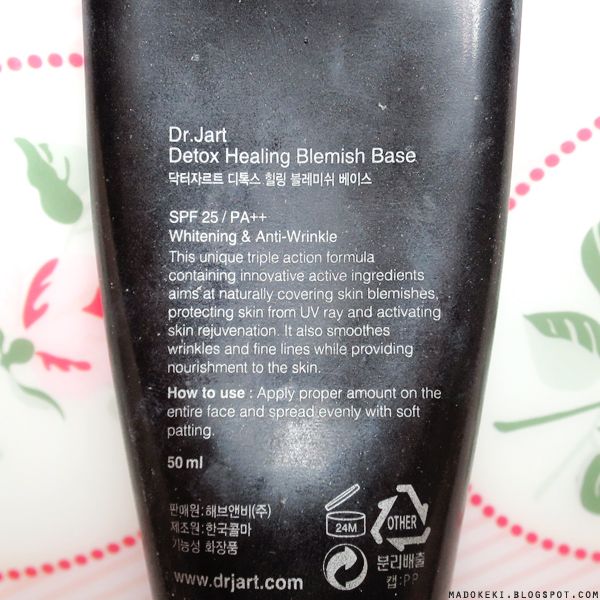
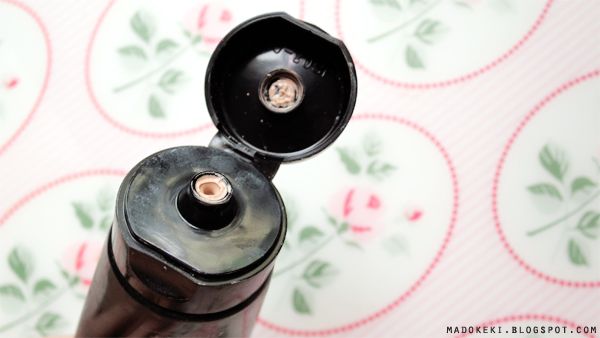
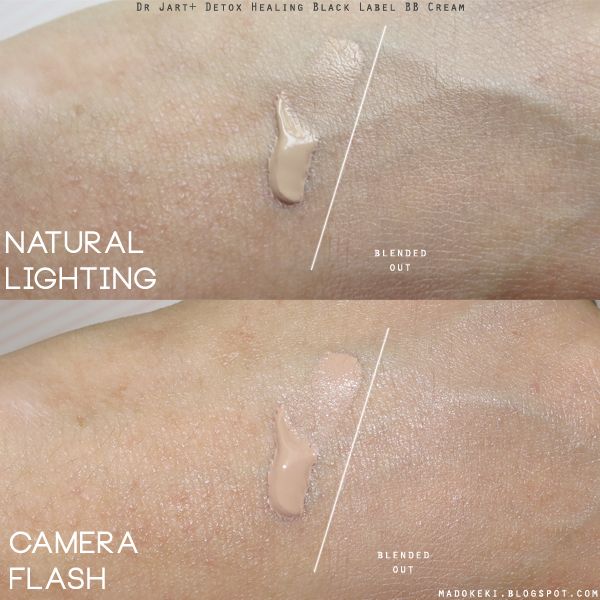
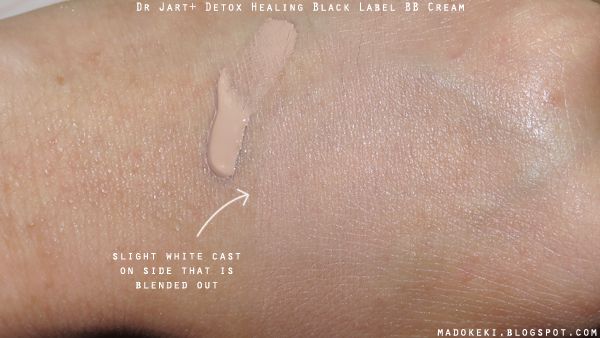
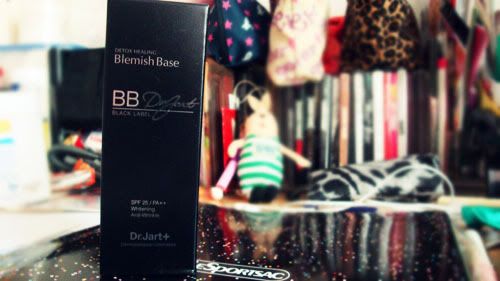
dr jart+ black label bb cream.
depending on your skin condition, your skin care product will be different. for example, if you have a very oily T zone, you can still use the hydrating toner all over your face, but i'd recommend taking an extra step in using an oil control toner and a gel based cream on the T zone to help control oil locally.
sun screen is a MUST, and it's actually part of the skin care step. do not under or over use it, as either or will result in decreased protection. the best is to use about 2cm of product for the entire face (and additional for the neck as well!), and then adding another thin layer to areas the protrudes such as the forehead, cheeks, and nose bridge. i'm using this cc cream as my sun screen here, but you can always use an actual sun screen that has a higher spf.
i highly recommend make up beginners to use bb creams (especially one that is more viscous, as it gives you more control), because bb creams has a lighter coverage than most foundation hence they are more forgiving.
most of the korean bb creams comes in limited shades, that's because the light coverage of the bb cream will melt in with your natural skin tone to give an overall brighter complexion. it works a little differently from the conventional foundation (which is to paint a layer of colour over your face to make it even). we're using it for brightening, not covering, so a light coverage base will work best.
of course, this is up to your personal preferences. personally i find such a texture the easiest to work with when compared to a more liquid-y formula, as you won't risk thinning out the product too much (and spreading it over an area wider than you initially desired) such that you get no coverage at all. the coverage of bb creams are usually buildable, so you can easily control how much coverage you want by adding in more thin layers. the best thing is, you can work it in with your fingers (whereas for liquidy formula, it's best to use a brush), which thins out the product sufficiently, giving you a very natural looking finish. what works better than your own fingers? plus, you don't have to deal with brush streaks!
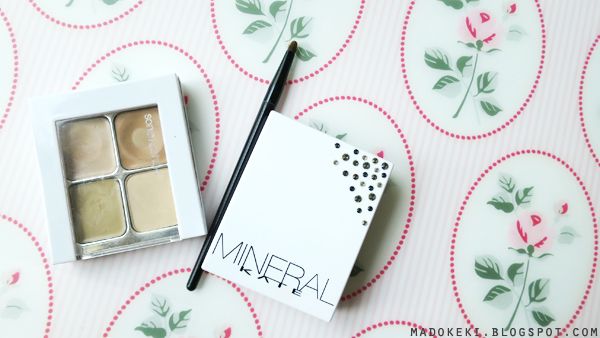 from left to right,
sonia kashuk
from left to right,
sonia kashuk hidden agenda concealer palette (07),
maybelline eyeliner brush (came with the gel liner),
kate mineral powder foundation (OC-B).
it is essential to get an undereye concealer that is slightly darker than your skin tone, as it requires a darker colour to cover up the dark circles. moreover, the orange tone in the darker shade can cancel out the bluish/purplish tone of the dark circles, which will allow the skin tone concealer to show much better later. without the salmon colour concealer, the undereye area will look ashy even with the skin tone concealer on. if you can't find a concealer palette like this one that i have, just invest in a darker concealer, as you can easily brighten up with your foundation/bb cream later (an addition bit of foundation over the concealer).
i used a powder foundation to set my make up (because that's the only powder i have currently), you can use other powders like a translucent powder, loose powder or pressed powder. there are so many types of powder out there, what you want to look out for is a
finely milled powder, and when using it to set your makeup,
use a very fluffy brush so that you'll only pick up a small amount of powder - enough to set the makeup, not sufficient to cake it and give it extra coverage that you do not need.
PICTORIAL_________________________________________________________________
STEP 1: SKIN CARE
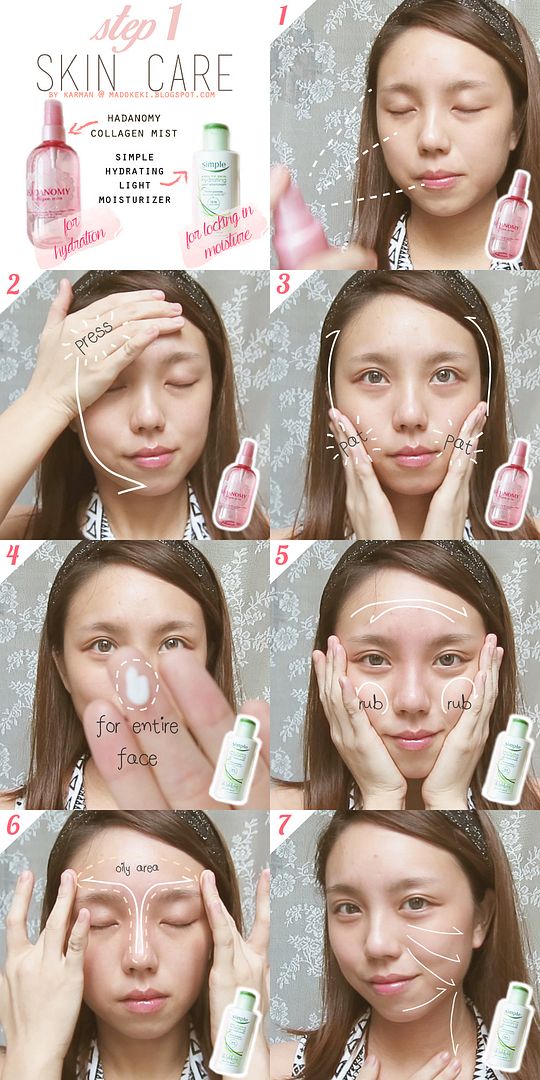
1. spray the hydrating mist onto face.
2. using the heat from the palm, press it against the face to aid absorption.
3. use a light patting motion to allow skin to finish absorbing everything. the patting will also stimulate the cells and fluids and get them moving.
4. take sufficient amount of cream for the entire face to lock in the moisture.
5. warm the cream between your hands and spread it over the entire face. this step also helps in the massage and pushing of fluids underneath the skin.
6. emphasize on the T zone as hydration and moisturization will help reduce the oil production.
7. complete this step with some lymphatic massage to improve circulation and help the skin get rid of waste. the lymph nodes are located behind the neck and near the collar bone, push towards those areas.
STEP 2: SUNSCREEN AND BB CREAM
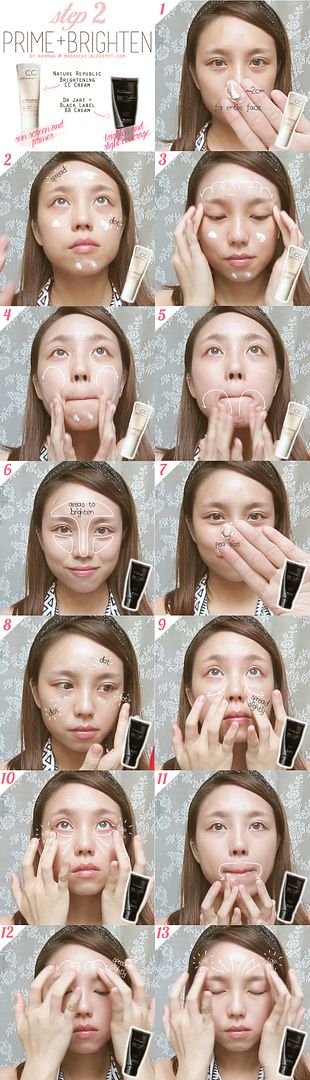
1. use about 2cm of product for the entire face.
2. spread it out on the forehead, cheeks and chin. the forehead and cheeks are most prone to sun light exposure as they are protruding out, you may want to add one more layer of sun screen on those areas.
3. spread it out in small circular motions.
4. blend out the sun screen on the cheeks in a circular motion and bring it to the eyelid area as well.
5. make sure to get the sun screen on the top part of the lips as well.
6. instead of applying the bb cream over the entire face, focus it on the centre of the face for its brightening effect instead. this will give you a more natural finish, plus you don't need to add an additional contouring step at the end.
7. use a pea size amount of these areas.
8. dot the bb cream on the areas marked out in step 6.
9. spread it out slightly to even out the bb cream.
10. using your fingers, tap it gently to spread the products in an outward motion. this helps to thin out the product and spread it around evenly.
11. with the remnant product still on your fingers, spread this around the lips to brighten that area so that the lipstick colour will look better on your lips later.
12. spread out the bb cream on the forehead in a small circular motion.
13. slowly pat it outwards, try your best to keep it within the boundaries in step 6.
STEP 3: CONCEAL
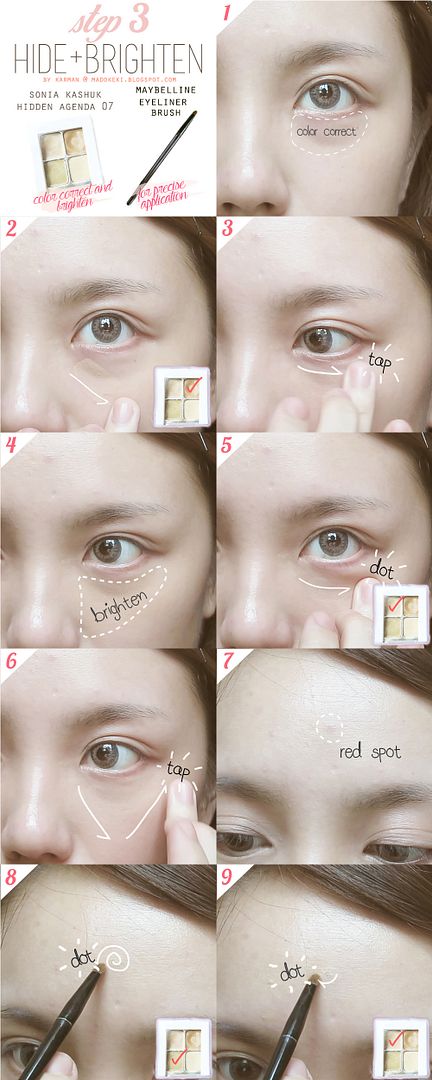
1. colour correct the under eye area with a darker shade of concealer first. for asian skin, use a salmon/peachy colour.
2. apply the concealer about 0.5cm away from the lower lash line. DO NOT apply this directly on the lash line as it will look very unnatural.
3. blend out the concealer by tapping gently with your ring finger, slowly bring it up towards the lash line.
4. tilt your head downwards to find the shadowy area. brighten the under eye area (an inverted triangle) with a lighter concealer.
5. using a tapping motion, apply the concealer directly on the shadowy area. DO NOT apply this directly on the lash line, same reason as before.
6. bring the concealer into the triangle area by tapping.
7. cover any red spot with a green toned concealer.
8. apply it directly on the spot and blend it out by dotting it in a circular motion.
9. using the lighter concealer, apply this belong the spot to lighten any shadows the spot may cast.
STEP 4: SET THE MAKEUP
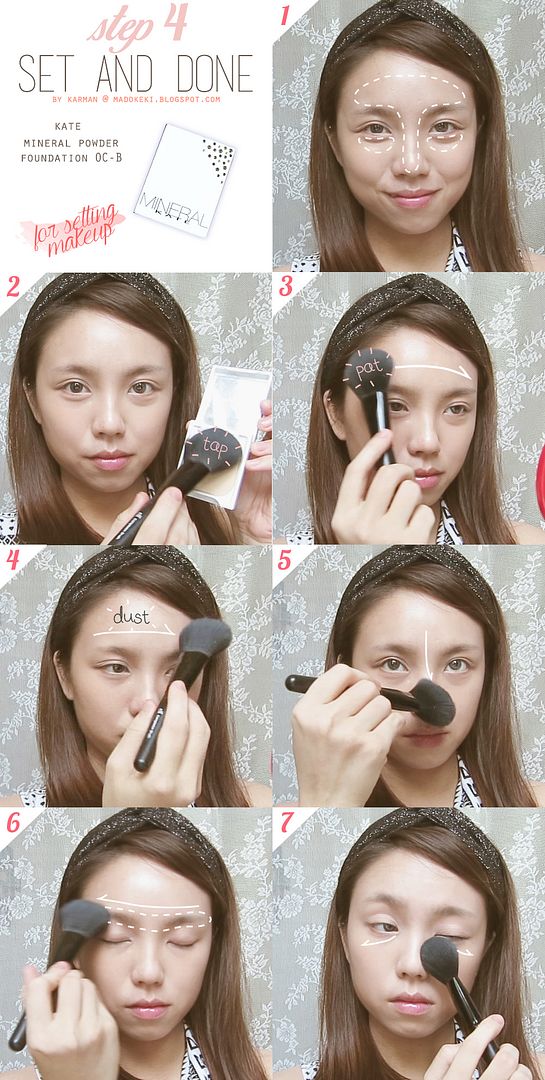
1. powder the areas that are prone to oil production and creasing such as the T zone and under eye area (where we applied concealer on).
2. tap the brush lightly to get some powder. DO NOT swirl your brush as it'll get too much product! *CAKE FACE ALERT*
3. dap it along the forehead so that only a small amout of powder is deposited.
4. dust it lightly to spread the powder evenly.
5. bring it down the nose bridge.
6. also powder the eyebrow area to dry it up as we applied skin care previously. this will allow the brow makeup to go on easily afterwards.
7. using the corner of the powder brush (you can use a small brush if you have), pat the brush underneath the eye areas to set the concealer.
these are supplementary information for those of you who are interested :D
hope this was useful!
don't forget to experiment to find out what suits you the best! afterall, we're all unique individuals, so this is not a one size fit all protocol for all!
btw, do you all like the pictorials? let me know!
xoxo
karman